

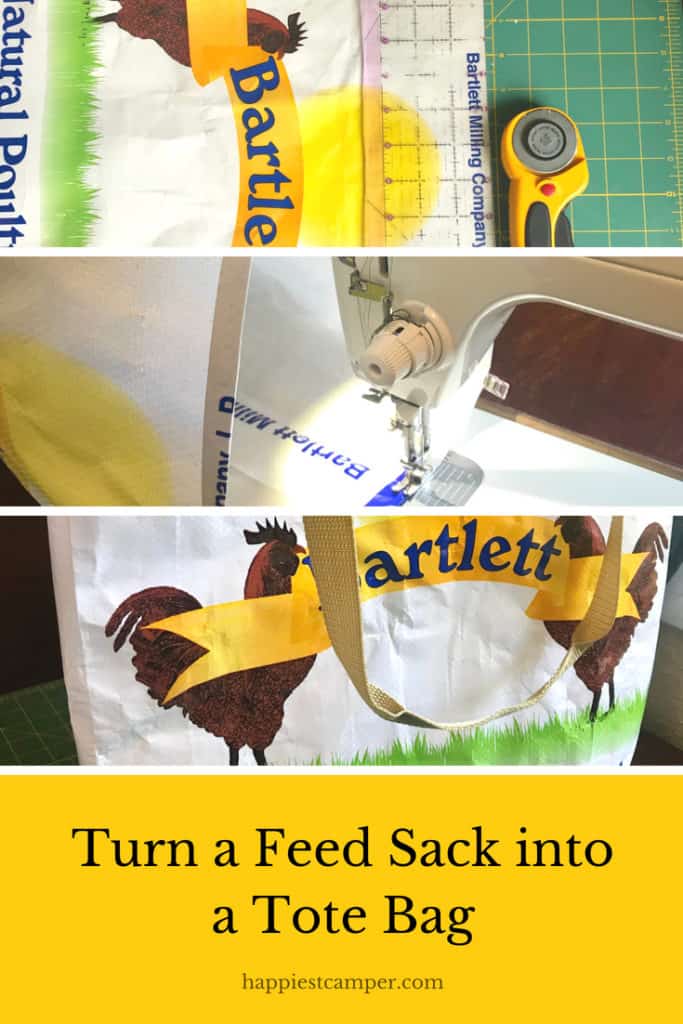
Are feed sacks piling up on your homestead? Don’t throw them away! Repurpose a feed sack into a tote bag. The material is durable enough to withstand quite a bit of weight. The totes are perfect for shopping at the farmer’s market or grocery store. You can make them any size you’d like to fit any scenario too. I made a feed sack tote bag as large as I could and added a lining for a beach/pool bag. Then I use smaller ones to carry library books and supplies for mobile craft projects. The possibilities are endless!

This is an easy sewing project perfect for a beginner. To start, you obviously need a feed sack. Grab one with a design that appeals to you. It could have held feed for chickens, horses, cattle, sheep, dogs, goats, etc. The material needs to be woven plastic. It is possible to create a tote bag from the paper or plastic feed sacks, however, they will not hold up as well. Woven plastic is much more durable.
Hose down the feed sack outside (trust me) to get all the feed dust out of it. If it was sitting for a bit or touched by moisture, you may need to scrub it. Clean the feed sack inside and out, and let it dry thoroughly.

Bring it inside where you’ll need a few supplies:
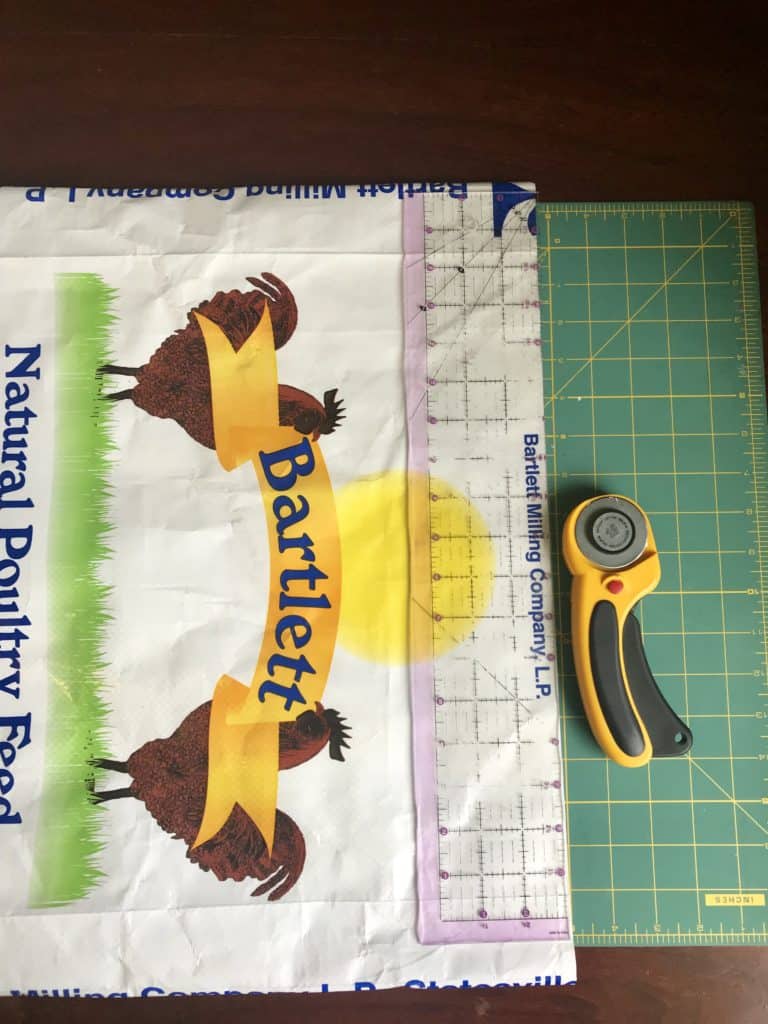
Lay the feed sack out on a table. Consider how big you would like the tote bag to be and what part of the design you would to show on your bag. Keeping seam allowances in mind, cut the bottom and top off of the sack.
Note: Do not use your good fabric scissors for this project. If using a rotary cutter, the blade will likely need to be replaced before your next project.

Turn the bag inside out. Don’t worry about any wrinkles. There is no ironing involved in this sewing project. (My favorite part!) Sew along the bottom edge with a 1/4″ seam allowance. I like to do a double seam for added durability.

Next, place your hand inside the bag and flatten the bottom seam. Here you have another decision to make. You can make the bottom of the bag as wide or skinny as you’d like. Measuring from where the seam comes to a point, draw a line that will guide your seam. After making a few, 2.5″ is a good length for most bags. If you make the mark at 4″, the bag will be wide enough to hold a cantaloupe and other produce items.
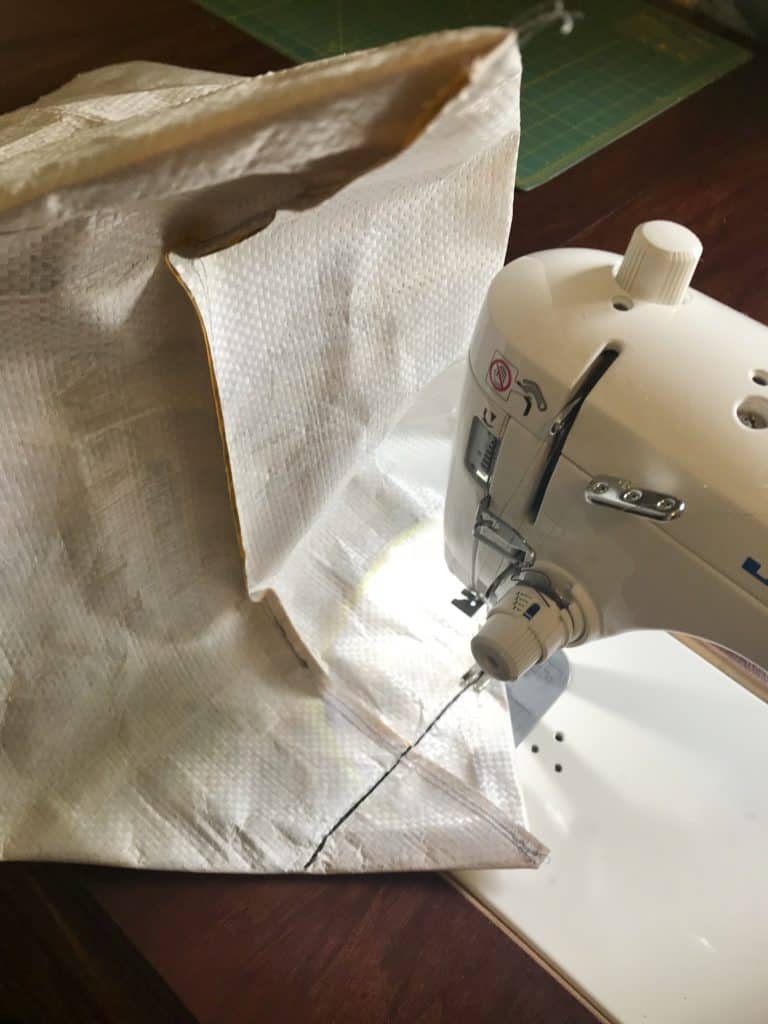
Mark both ends of the bag at the same length and sew along the line on each side. Again, you may do a double seam for added durability.

Cut off both corners (not with your fabric scissors).

Now the bottom is flat and your feed sack should be shaped more like a tote bag.
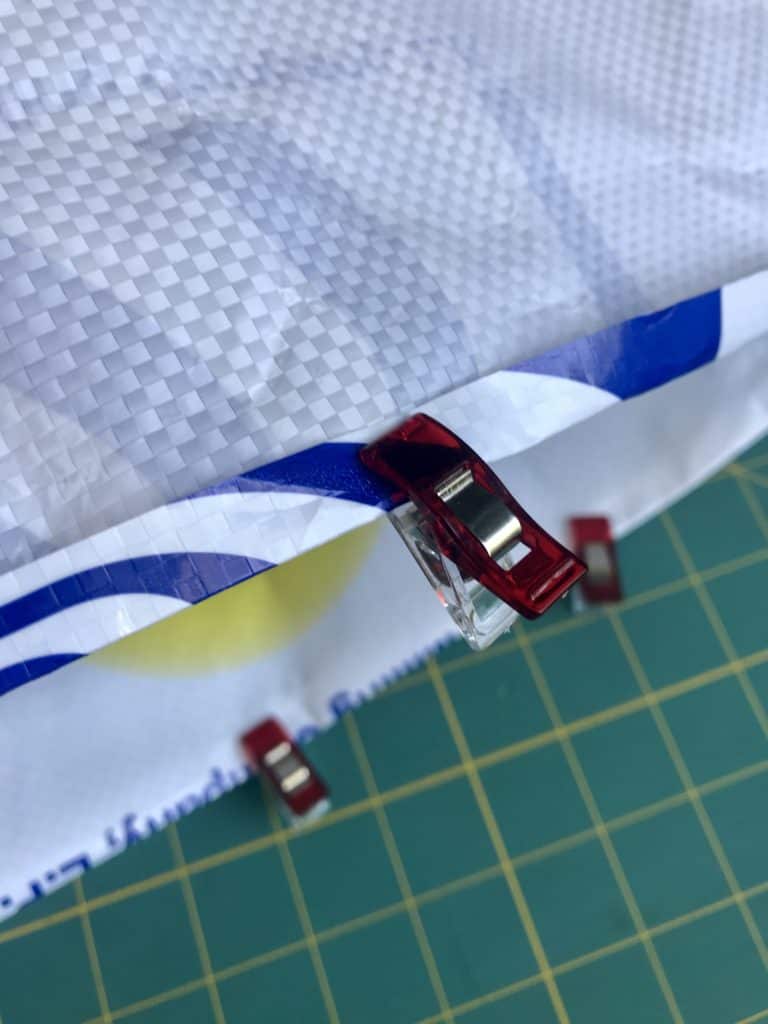
Keeping the bag inside out, turn the top edge over, and secure it with clips. Do not use pins because they will leave holes in the woven plastic. How much material you turn over is personal preference. A half inch gives and easy, finished look that shows a large area of the design. You may want to fold over more for decoration or to cover up part of the design you don’t want to show.
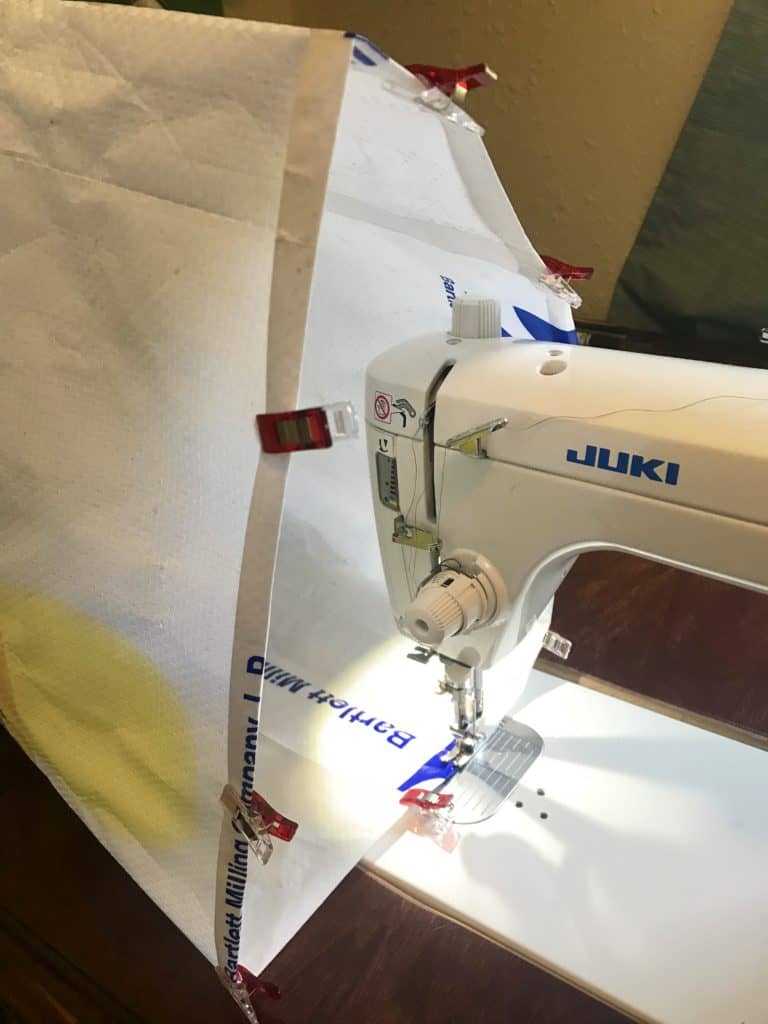
Stitch around the upper edge with a 1/4″ seam allowance. Since the bag material is somewhat rigid, I like to let it glide over my sewing machine. If your machine is not set into a table, you may choose to feed the bag beneath the sewing machine.
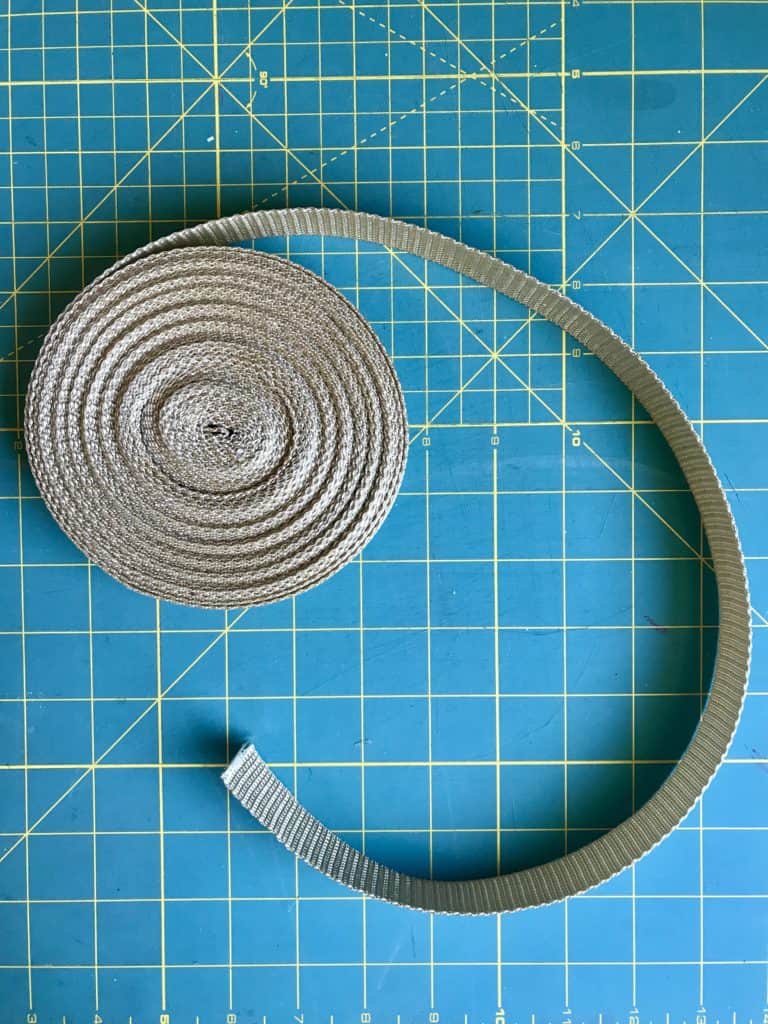
Now it’s time for the straps! Initially I used the discarded feed sack material to make straps. It was time consuming, and they weren’t very comfortable to use. This nylon webbing is super affordable and makes a much nicer bag. I found that 27″ straps work best for me. You can adjust the length to your liking. Cut two.
P.S. How awesome does the batting holder we made look in my sewing space?

For an added touch and comfort, I folded over 6 inches in the center of each strap and stitched them down.

Now you’re ready to attach the straps to the tote.

I’m not big on measuring, but place the straps 3″ – 4″ down from the top on each of the widest sides of the bag. Add clips to hold them in place.
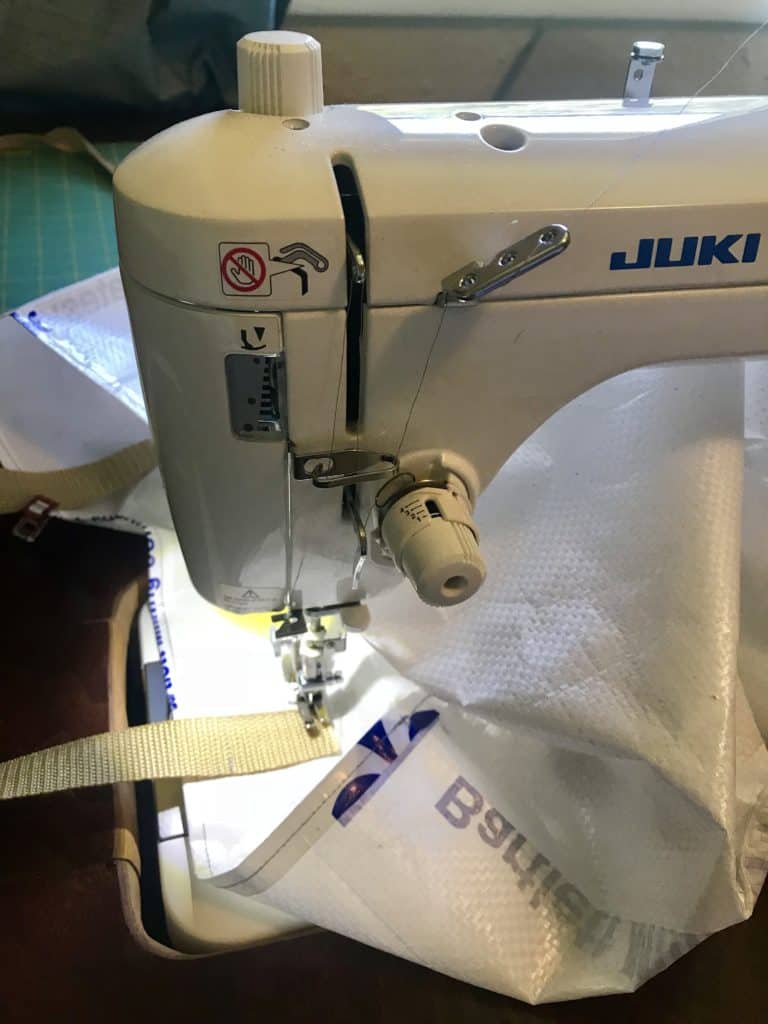
While the bag still inside out, stitch each side of the straps down by making a 2″ rectangle. You’ll have to work the bag through the throat of the sewing machine several times. Don’t be afraid of the wrinkles! They add character.

You can also add an ‘X’ inside the rectangle to make a strong hold. At this point, you have a feed sack tote bag! Continue on if you’d like to add a lining to your tote.

For the lining, cut your fabric 1″ larger than the finished tote bag on all sides. With right sides together, sew along the longest sides to form a tube. Then repeat the first few steps at the beginning of this post to close the bottom seam and form the box shape.

Now slip the finished tote bag inside the fabric lining with right sides together. Make sure the straps are hanging down. Then clip the two materials together around the top edge.

Sew around the top keeping in mind how much of the fabric you would like to show on the outside of the bag. For the bag shown, the I stitched 2″ down. Then pull the feed sack out of the fabric lining. Flip the fabric lining into the feed sack, and it should form the lining where you can see the right sides of both materials with the handles facing out. Top stitch around the top of the bag to hold everything in place and you’re done!

Get more creative by adding interior or exterior pockets to your feed sack tote bag. A zipper closure would be awesome too. These tote bags are practical and a lot of fun to make. Please share your feed sack upcycle with us on Instagram and Facebook. We would love to see it!

This super cute upcycle project gives new life to an old feed sack! You can use one from pet food or even an old flour sack. Whatever you use, have fun with it! You'll have a fun bag that is super unique to you!